In just a few minutes, $50 million was raised, with an ICO price of $0.05, leading to a direct 20-fold return upon listing on exchanges, and at its peak, it brought ICO investors returns as high as 3260%.
The success of the Plasma ICO has made almost everyone realize that the frenzy of ICOs may soon reappear.
From that moment on, all eyes turned to the platform behind it—Echo. It not only supported the explosion of Plasma but also attempted to reshape the rules of new token launches with its new Sonar feature. Related reading: “Echo Launches New Feature Sonar, Can It Create a 'Compliant ICO' Market?”
No one wants to miss out on the next "Plasma." Now, a new wave of excitement is gathering. The next project that may replicate the Plasma myth, MegaETH, is now open for registration on the Echo platform.
In this article, Rhythm BlockBeats will provide a complete guide on: how to complete the registration and KYC for MegaETH, how to use Echo and Sonar, and how to join the most active investment groups.
1. How to KYC for MegaETH
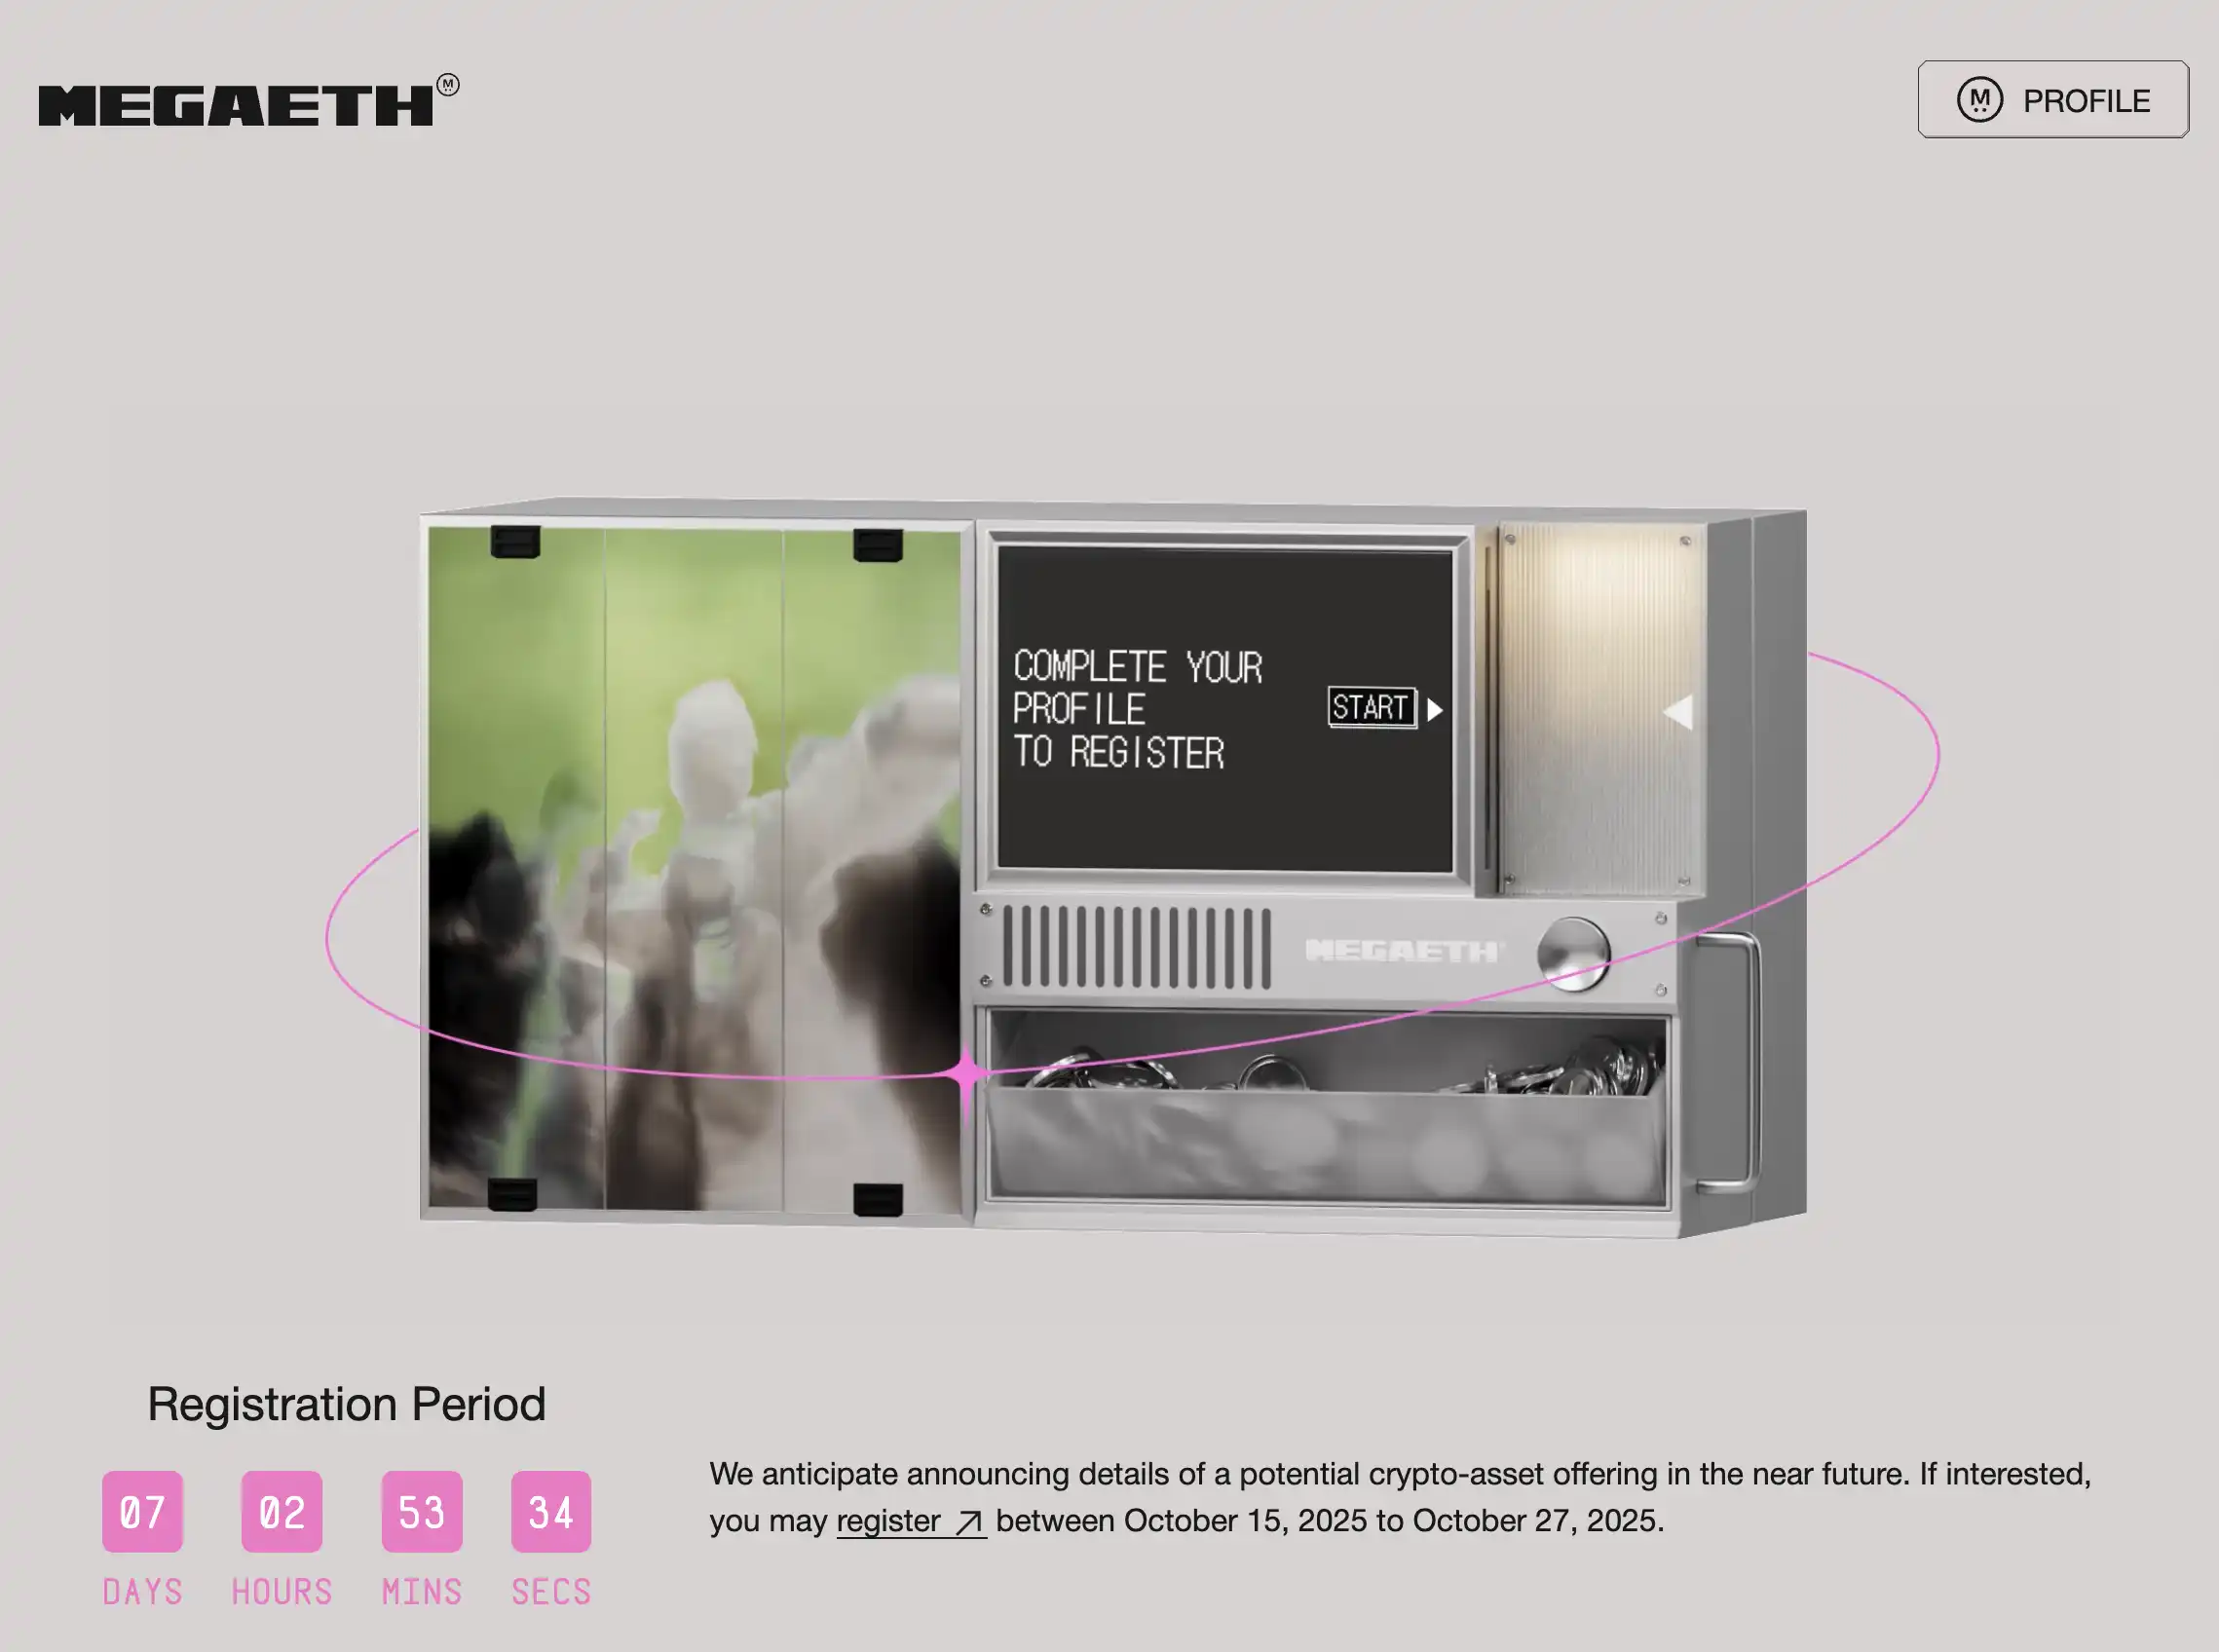
The hottest ICO on Sonar right now is MegaETH, with the registration period from October 15 to October 27, leaving 6 days until the registration deadline. The KYC identity verification process involves several steps, but if the information is complete and submitted smoothly, it can be approved almost instantly. If manual review is required, it may take at least 1-3 days, so it’s best to complete KYC as soon as possible.
1. Prepare Documents
Prepare necessary documents including a high-resolution photo of your passport or driver's license, a smartphone capable of facial recognition, and a utility bill or bank statement from the last three months.
Chinese addresses are listed as prohibited areas for participation, so you will need to submit proof of address from another region. Many bloggers on Twitter have discussed ways to resolve address proof issues, so we won’t elaborate here. Our subsequent steps will mainly use the example of a mainland passport and Hong Kong address proof, along with bank statements.
2. Access the MegaETH Registration Page
According to community analysis, entering the KYC process from the MegaETH registration page is easier than entering from Sonar, so we will access it from the MegaETH registration page.
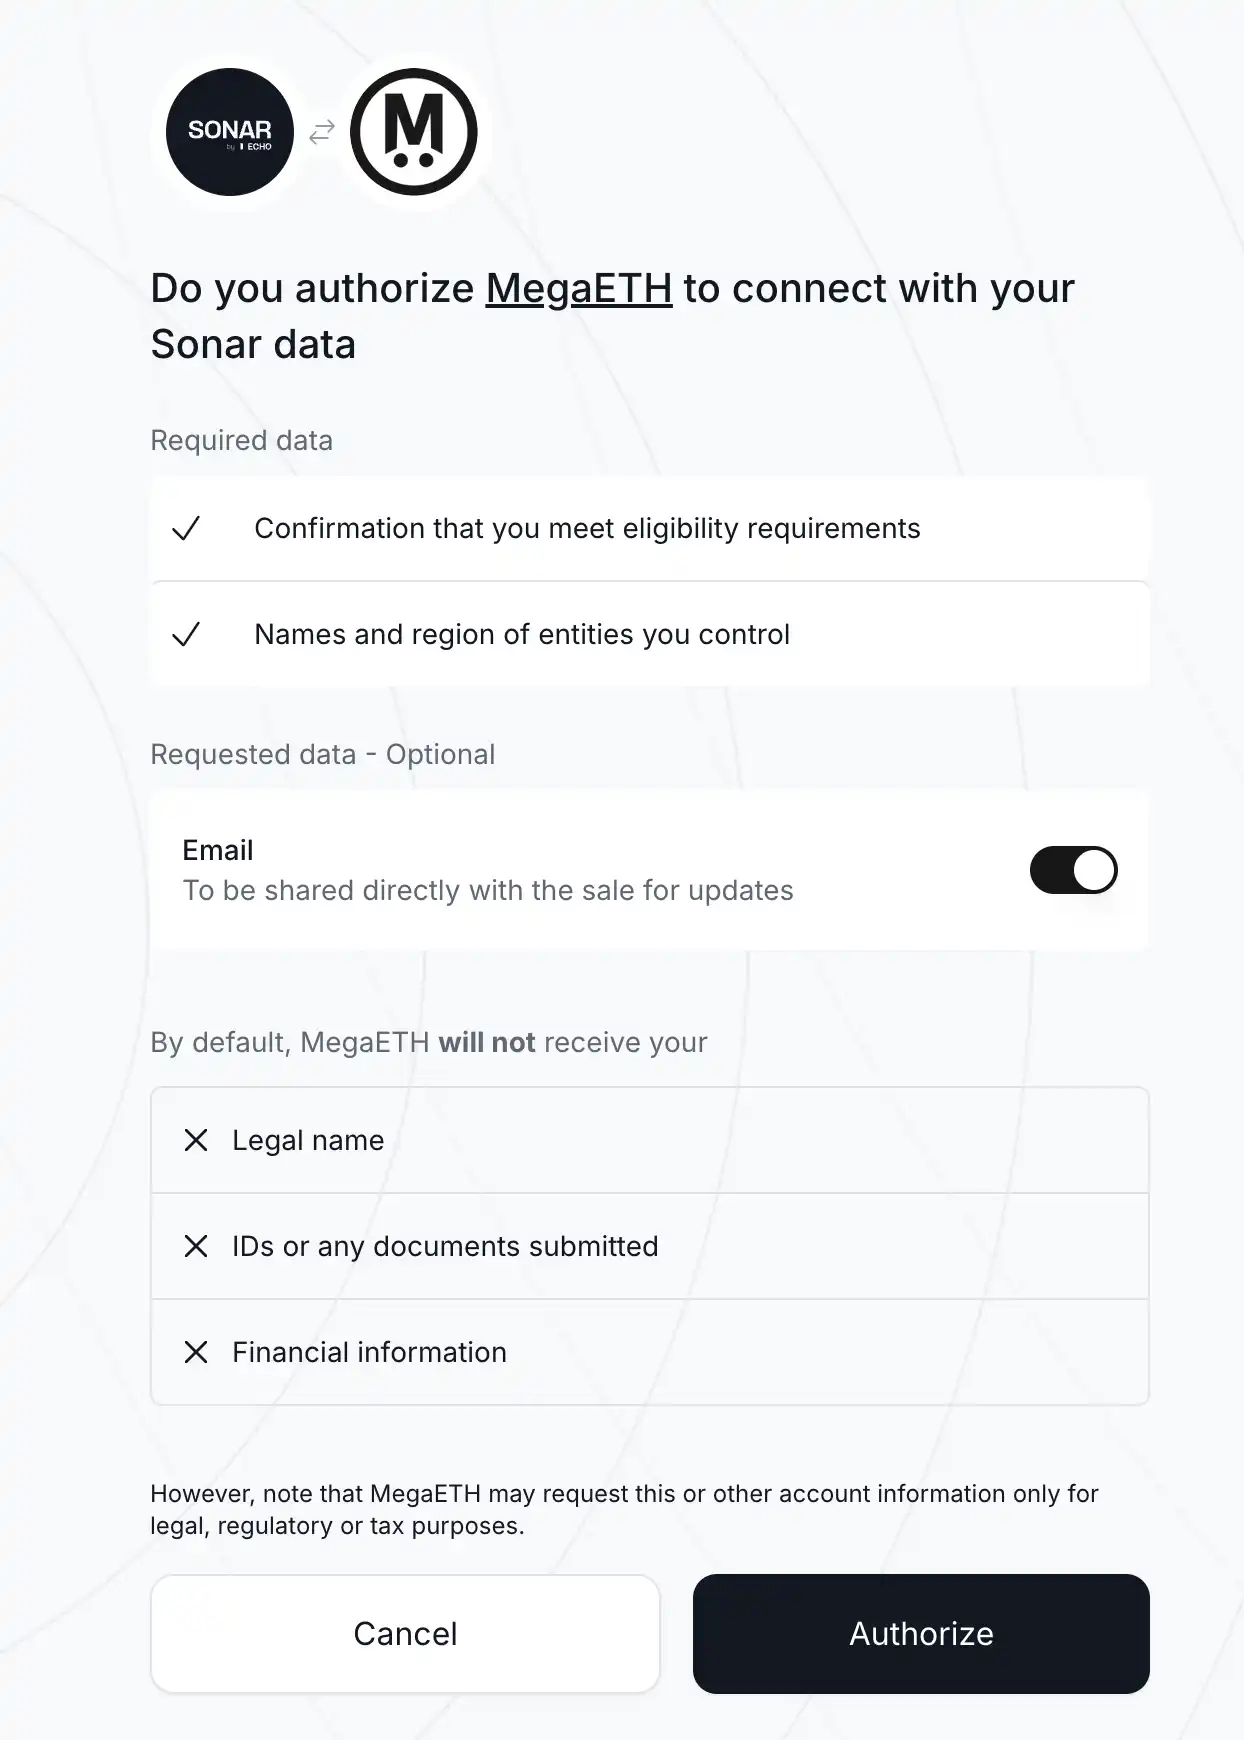
Once you enter, you need to authorize data connection by clicking "Authorize" to agree and continue.
3. Complete Personal Information
On the MegaETH platform's personal information completion page, you can first fill in the "Social Media & Work" links for Twitter, Discord, and GitHub. Try to choose accounts with rich interactions, as past participation and contributions in MegaETH and the Ethereum ecosystem may increase your chances of receiving allocations during oversubscription.

Additionally, click "Add Additional Wallets" to upload up to 3 of your own wallets with rich on-chain interaction history, which can also increase your chances of receiving allocations during oversubscription.
Next is the most important step, "Identity Verification." First, connect a main wallet, and as mentioned earlier, try to use a wallet with a rich on-chain interaction history.
Then click "MANAGE ON SONAR," where you will need to use the passport photo and bank statement you prepared in step 1.
4. Identity Verification
After clicking "MANAGE ON SONAR," you will enter the identity verification section, where you need to upload two documents as shown in the image.
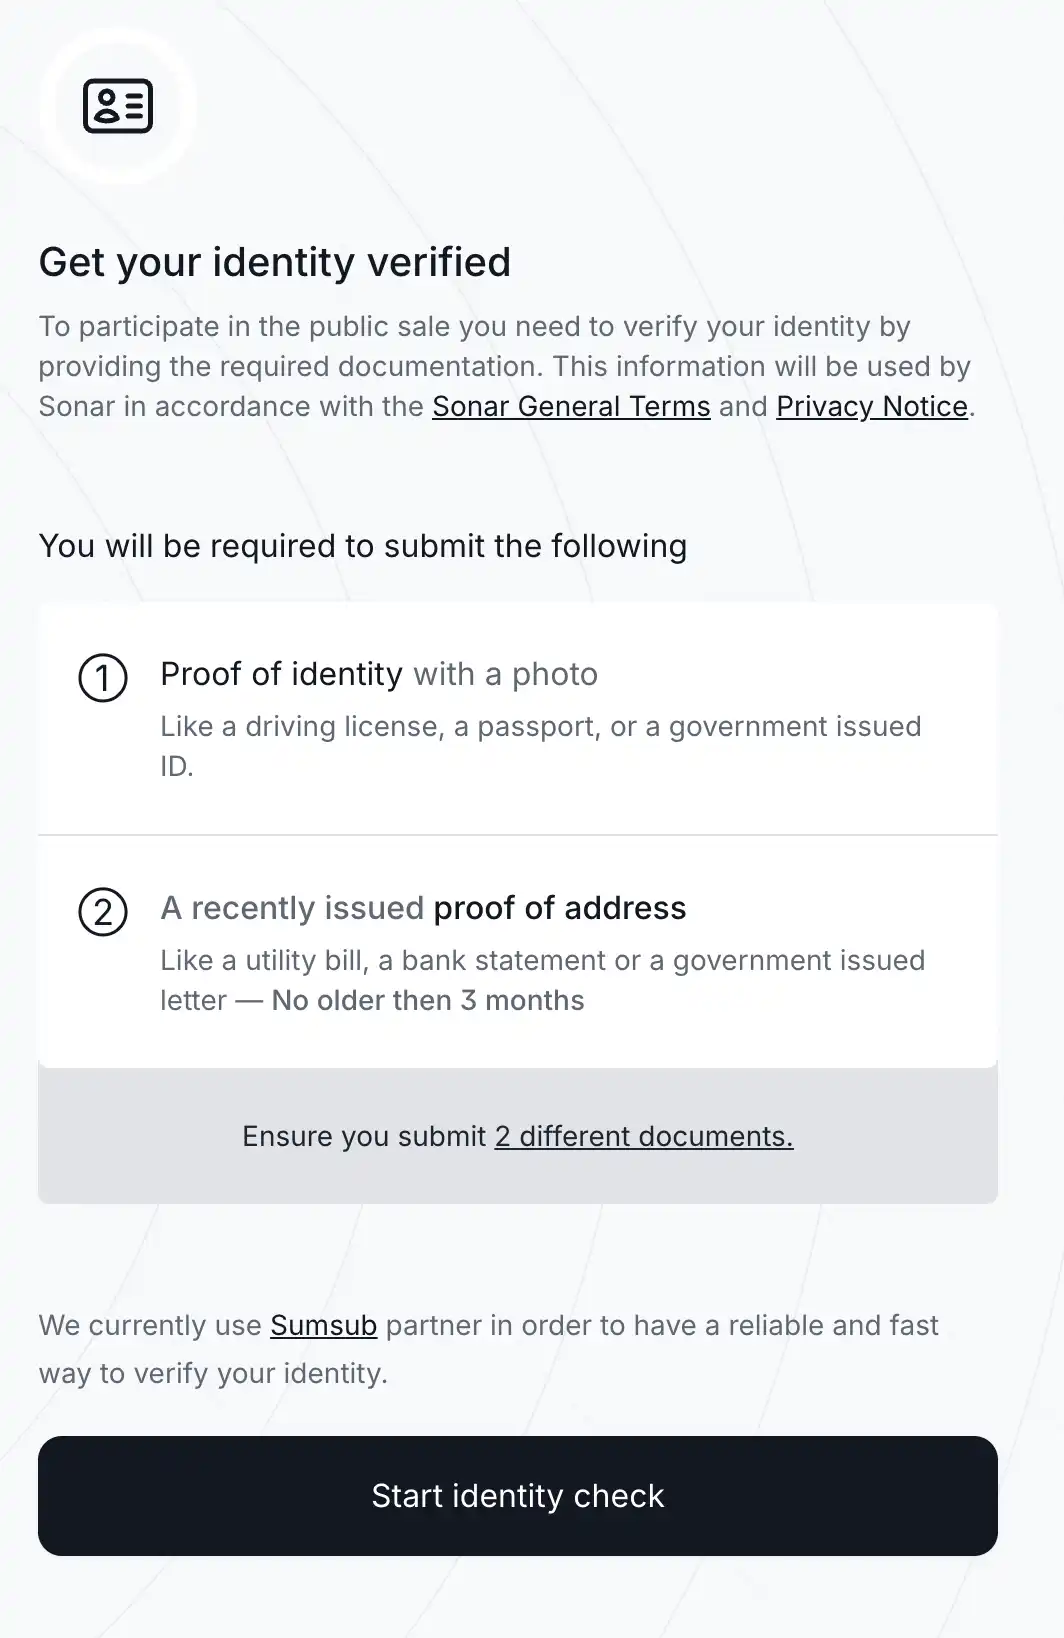
First, click on the first option, "Proof of identity with a photo," which is the identity proof with a photo. You can try using the passport photo first; if that doesn't work, you can use the driver's license photo. Note that the photo must be of high clarity, and the uploaded photo should be the downloaded passport photo, not a screenshot, as the system will fail if it detects a screenshot.
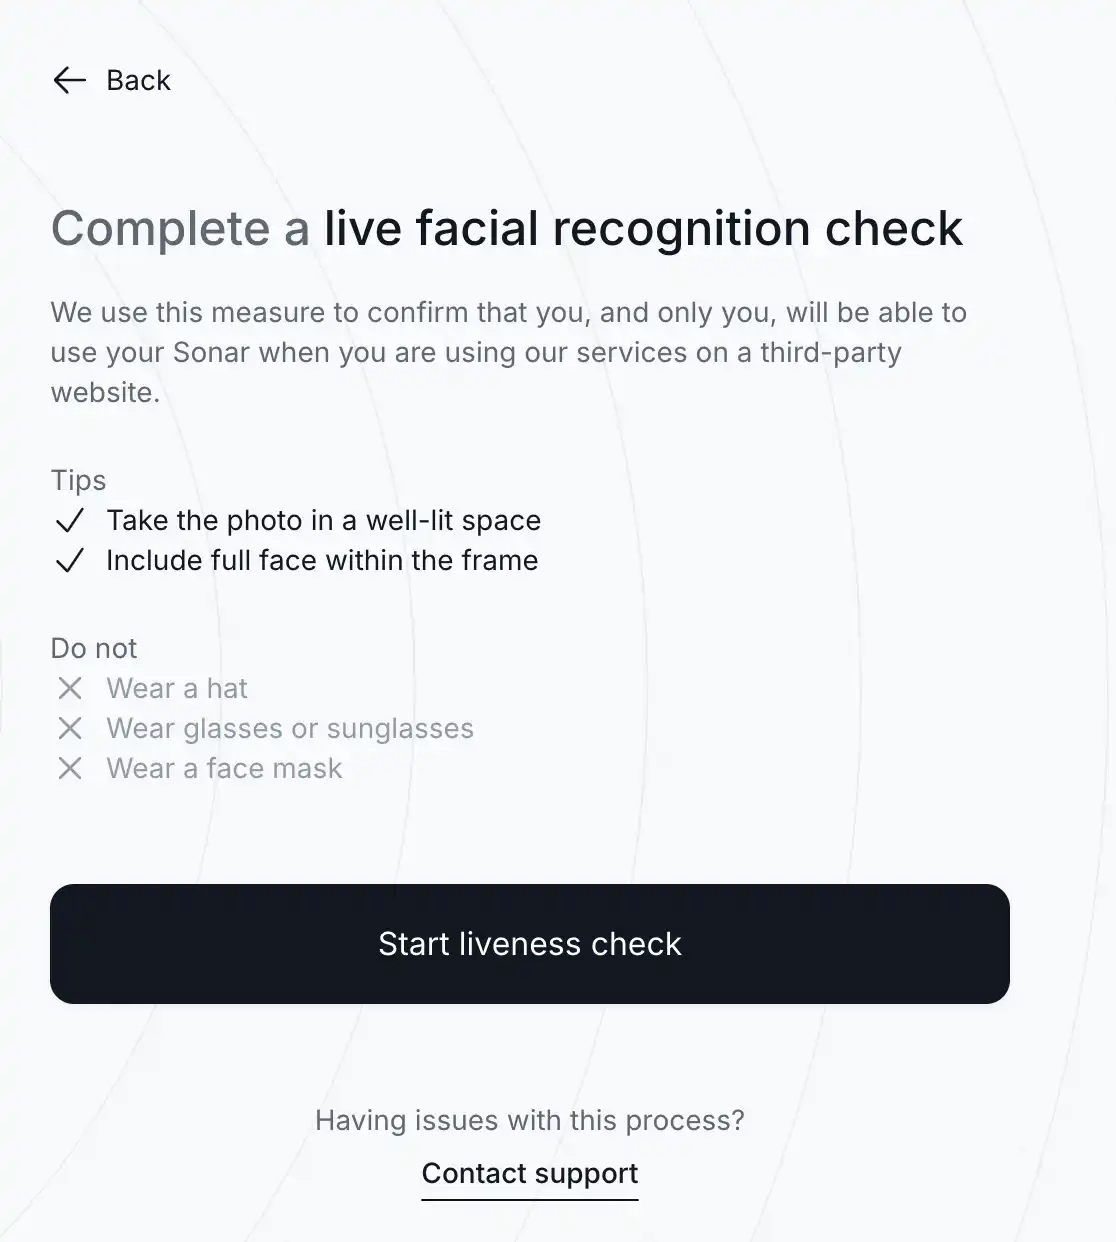
After uploading, you will proceed to the facial recognition step. Make sure to take the photo in a well-lit area, ensuring your face is clearly visible without obstructions.

After clicking "Start liveness check," you will be prompted to complete this on your phone. Click "Continue on phone," and a QR code and link will pop up. Scan the QR code or copy the link to complete facial recognition.
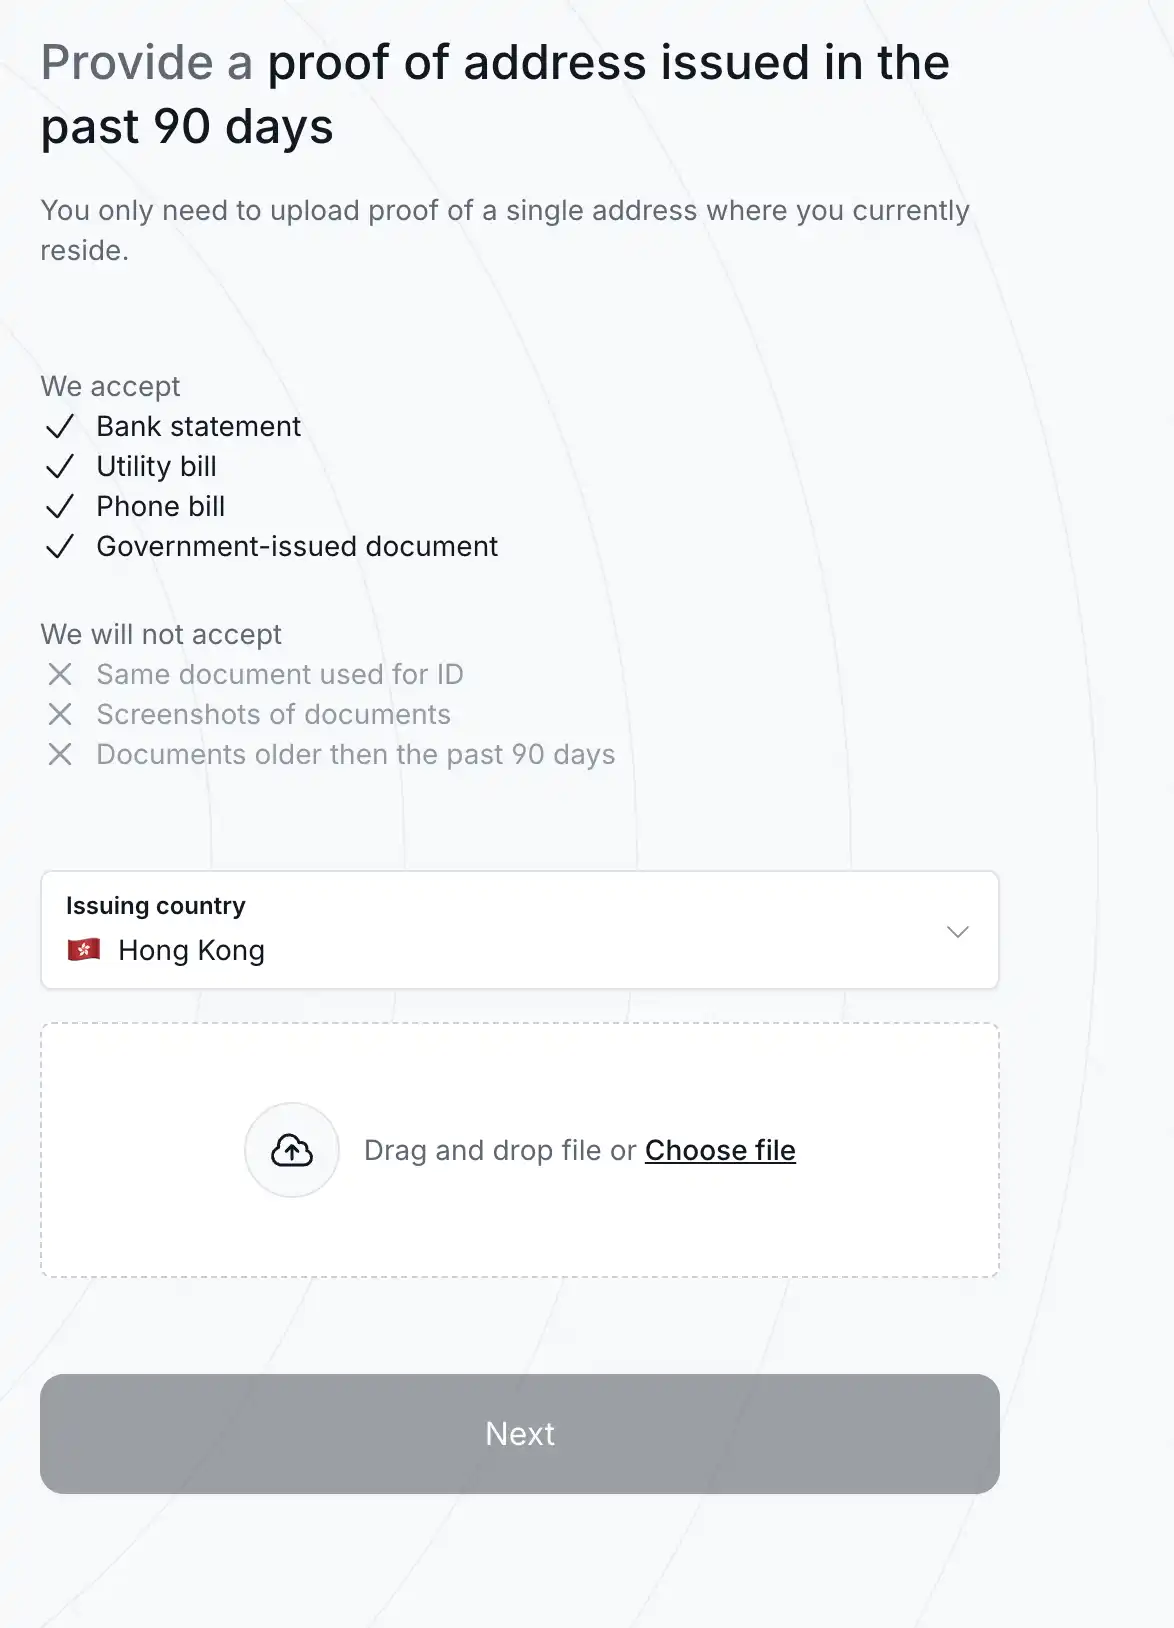
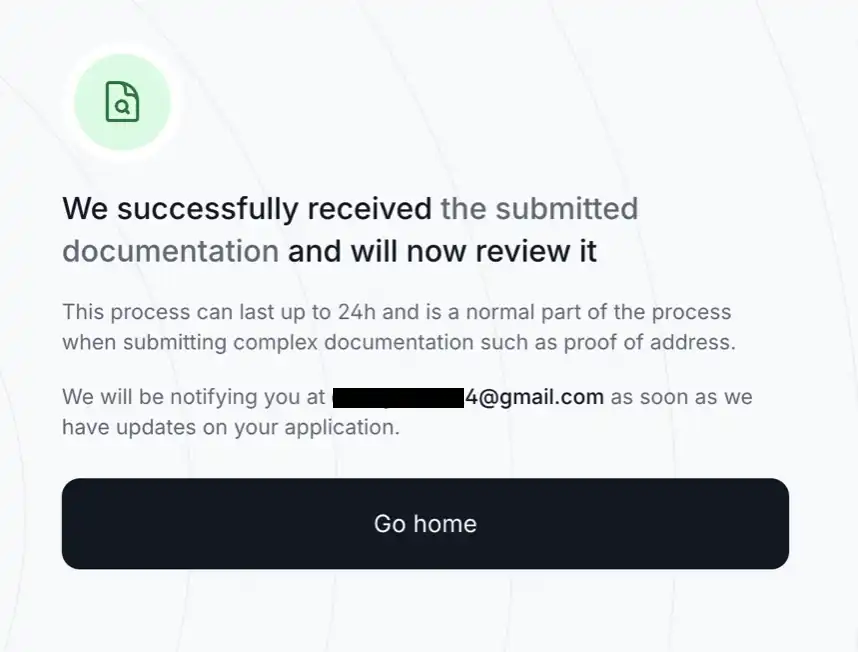
After completing facial recognition, return to your computer. The page will advance to the next step, where you need to upload proof of address. If you receive an email indicating failure, try uploading other proof documents.
5. Complete Registration
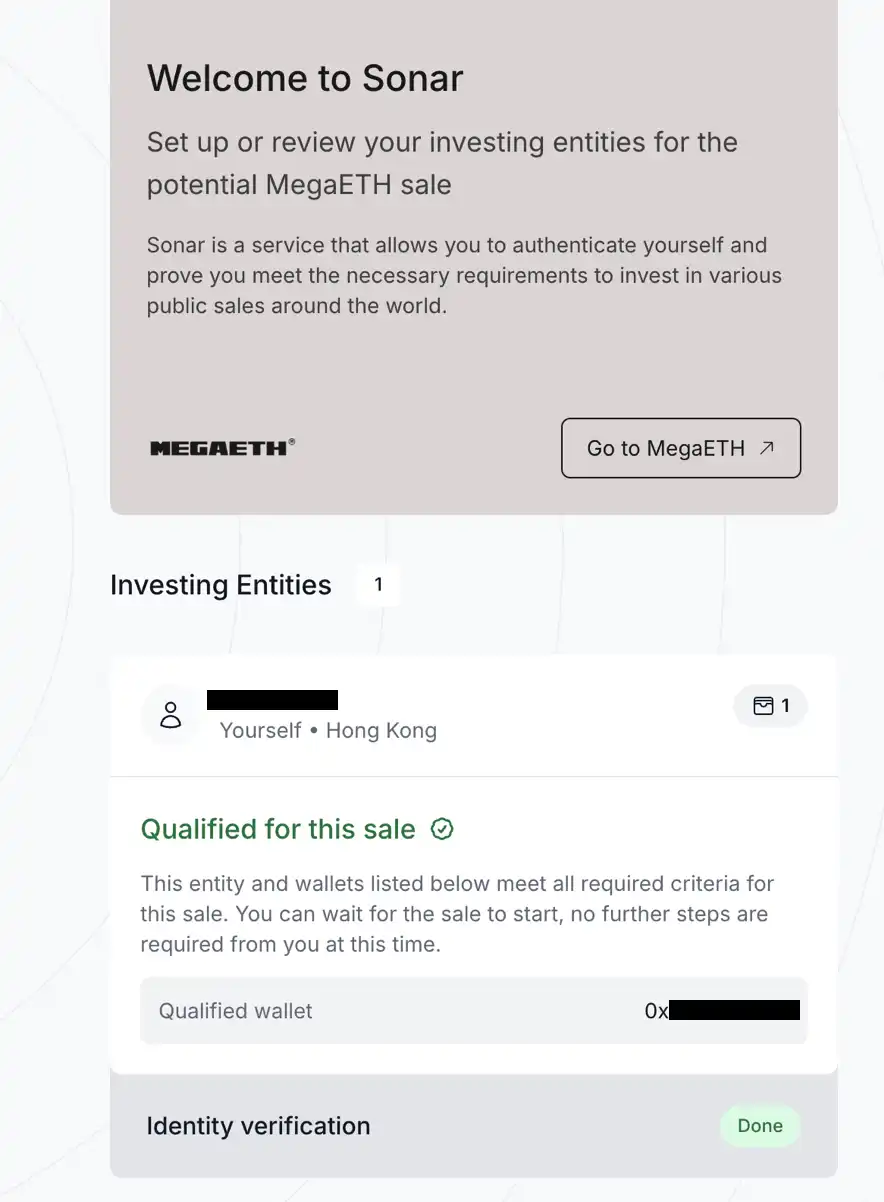
Once KYC is approved, you will receive an email/platform notification, and the official details of the sale will be announced after October 27. Returning to the homepage, you will see "Qualified for this sale," indicating that this wallet has passed KYC and eligibility review.
Note that during the payment phase, there may be a secondary facial verification or a request to resubmit proof of address from the last 90 days, so keep an eye on the official Twitter of @megaeth_labs and Sonar's email notifications.
2. How to Create and Use Echo & Sonar
1. Register for Echo
After completing the MegaETH registration, we still cannot use Echo because the KYC channels for the two are different. Therefore, we need to go to Echo's registration homepage to complete the registration for Echo.
This registration process is simpler than the previous one, so we won’t go into too much detail. Just complete the following information settings: enable two-factor authentication (2FA); bind your X (Twitter) account or bind your Farcaster account; select your country of residence; agree to the user agreement; fill in your investment experience and identity information.
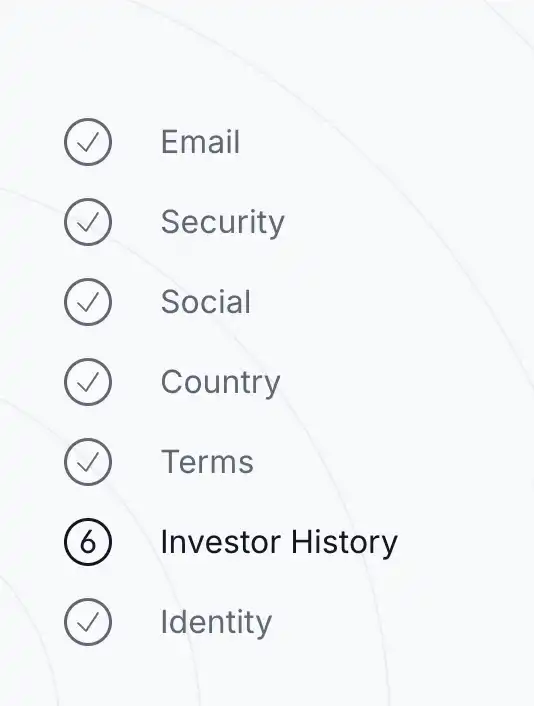
The only slightly complex part is the Investor History questionnaire in step 6, which requires you to select your investment experience, income amount, asset amount, understanding of lock-up, and dozens of other questions. If your answers deviate too much, the verification will fail. Here, try to highlight your rich investment experience, with an annual income of at least over $200,000 or net assets over $1 million. If you are unsure about professional questions, you can confirm with AI.
2. Join Groups
The group feature is one of Echo's highlights. Echo itself does not recommend or display specific trades, but group "leaders" can.
After creating a group, "leaders" can share their investments within the group. Members can join these groups and choose whether to co-invest based on the specifics of each trade, participating under the same conditions.
All "group friends" will be merged into one investment entity, which will then represent the investment in the target company. The entire process is completed on-chain, using USDC as the settlement currency. In terms of profit distribution, "leaders" will receive a certain percentage of the profits from "group friends" as a reward; "group friends" only make money if the "leader" makes money.
Any Echo user can apply to create a group, but currently, the processing speed for applications is quite slow.
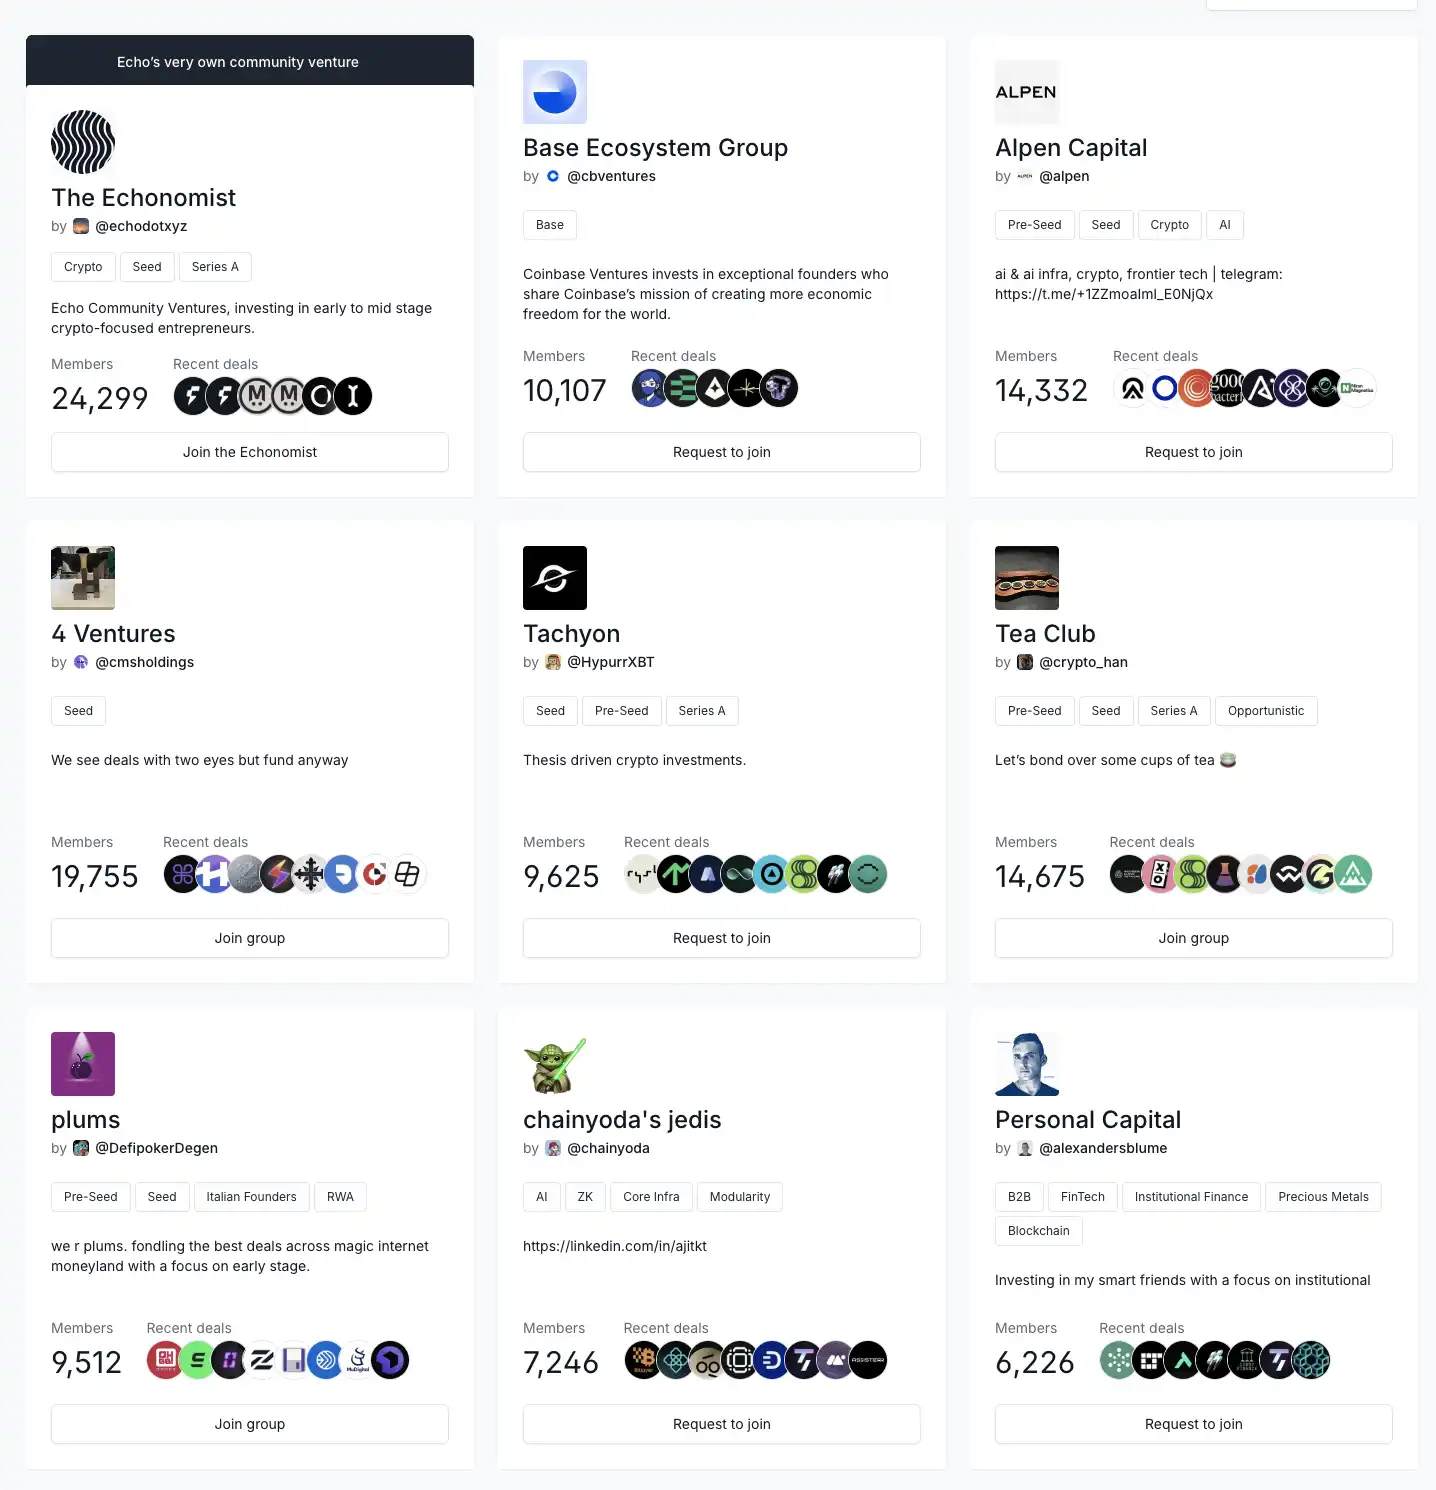
On the group page, we can apply to join the groups we are interested in. Before joining, we can see the number of members and the most recent deals in the group. Some groups are invitation-only, and only invited users can join.
Here, it is recommended to join groups with many members and well-known leaders, such as the group Club Cobie led by Sonar founder Cobie.

免责声明:本文章仅代表作者个人观点,不代表本平台的立场和观点。本文章仅供信息分享,不构成对任何人的任何投资建议。用户与作者之间的任何争议,与本平台无关。如网页中刊载的文章或图片涉及侵权,请提供相关的权利证明和身份证明发送邮件到support@aicoin.com,本平台相关工作人员将会进行核查。